

THE IRURI JOURNAL
FIELD NOTES & LIGHTING STUDY
Before the Bracket: How to Choose an A-Pillar Light Setup for the Land Cruiser 250
Beam pattern, mounting position, glare, rigidity, and installation matter before the bracket ever goes on the vehicle.
A comparative guide to Land Cruiser 250 ditch lights, forward driving lamps, and low fog lighting configurations.
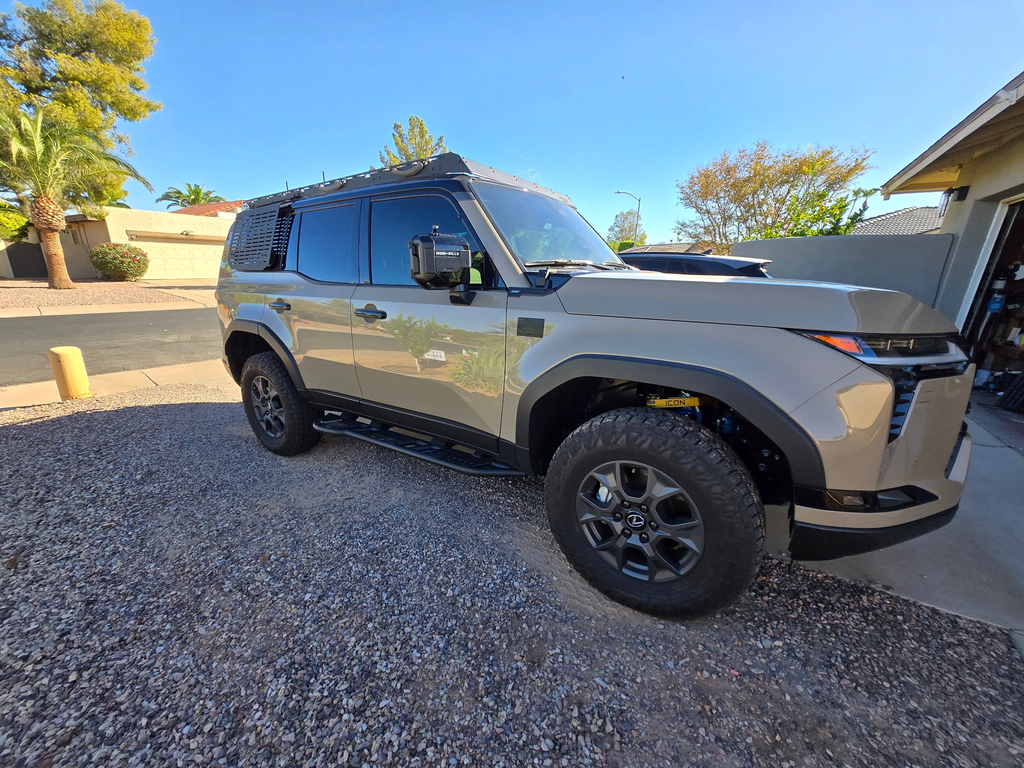
Choosing Land Cruiser 250 ditch lights is not simply a question of bracket design or pod size. Before mounting anything to the A-pillar, it helps to understand what part of the trail needs additional light—and whether an A-pillar, grille, or low-mounted fog position is actually the right place to create it. Auxiliary lighting should resolve a specific optical shortfall of the vehicle, not add unguided lumens to an already capable platform.
Choose the lighting task first. Then choose the beam. Then choose the mounting position. The bracket comes last.

01 / Start With the Beam, Not the Bracket
Before choosing a bracket, decide what part of the trail you are trying to see. Auxiliary off-road illumination is an exercise in optical zoning, not raw lumen accumulation. Different vehicle mounting zones address fundamentally distinct visual tasks:
• Trail edge / turns / peripheral visibility: A-Pillar / Cowl position.
• Forward mid- to long-range illumination: Grille or front bumper driving lights.
• Close-range / adverse weather (dust, fog, snow): Low bumper / fog position.
No mounting location is universally superior; each exists to resolve a specific visual limitation of the base vehicle.
02 / What LC250 A-Pillar / Ditch Lights Actually Do Well
Factory headlights are primarily optimized around forward road illumination, which can leave less coverage toward the trail edges and peripheral terrain. When tracking tight switchbacks, scanning road cuts for washouts, or spotting trail markers in technical terrain, forward-facing headlights illuminate only the space directly ahead of the chassis.
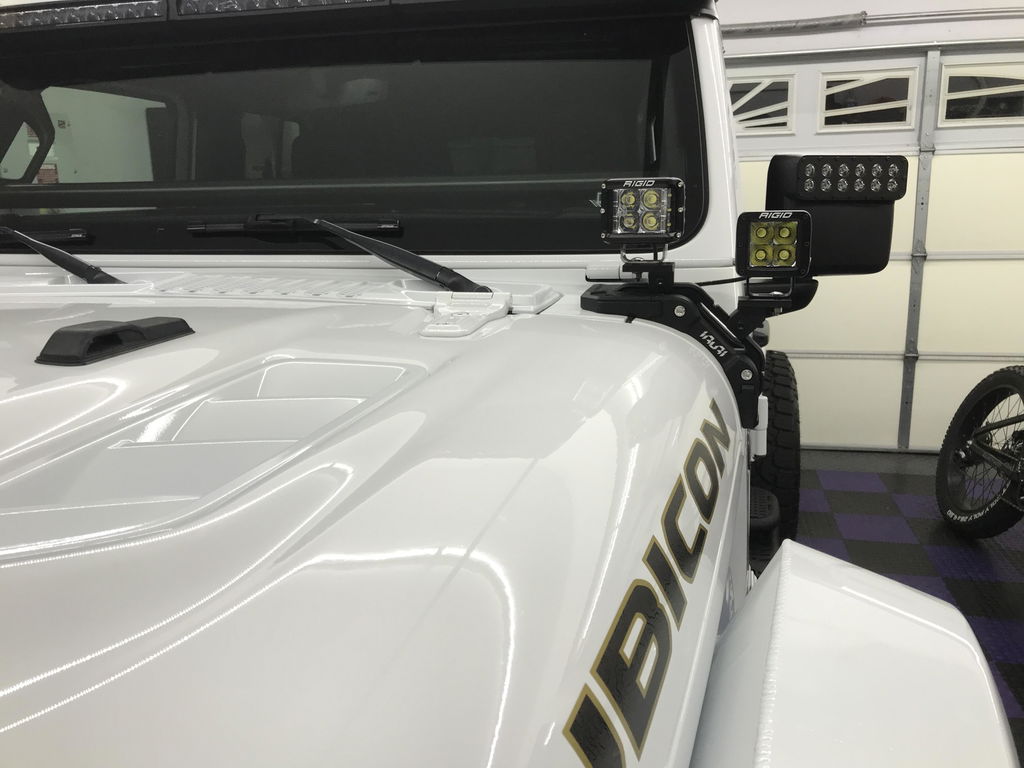
The functional role of an A-pillar ditch light is lateral expansion. By aiming the pods outward according to their beam pattern and the terrain being driven, A-pillar lights can extend useful illumination into the peripheral zone beside the vehicle, filling the dark void between the front bumper beam and the side mirrors.
An A-pillar light should add information outside the headlight beam—not simply add more brightness in the same direction.


03 / When A-Pillar Lights Are the Wrong Answer
A-pillar lights are not an automatic solution for every illumination shortfall:
• Forward long-range illumination: If distance is the priority, compare a dedicated forward-facing grille or bumper system with a higher-mounted A-pillar or roofline spot setup. A-pillar positions can support long-range spot patterns, but beam aiming, hood reflection, driver sightlines, and the rest of the lighting package become more important.
• Close-range adverse weather: In heavy fog, falling snow, or airborne trail dust, mounting high-output lights at hood level can backscatter glare directly into the driver's eyes, reducing contrast. For cutting beneath airborne particles and defining immediate ground contours, a low-mounted fog or dust lighting zone remains optically more suitable.


04 / Beam Pattern Matters More Than Pod Size
Overland builds often focus on pod dimensions—debating between 3-inch and 4-inch housings primarily for aesthetic proportions. On the trail, beam pattern dictates functional performance far more than housing scale.
Wide Cornering is a common choice for A-pillar ditch-light duties, while combo or spot patterns may be selected when the lighting objective changes. However, beam pattern selection requires discipline: pods with unrestricted downward or inward light spill can flood the flat expanse of the Land Cruiser 250’s hood. This creates perceived hood glare, bouncing bright reflections back toward the driver's pupils and compromising night vision adaptation.
The question is not only how bright the pod is. It is where the beam goes after you mount it.


05 / Then Look at the Mount
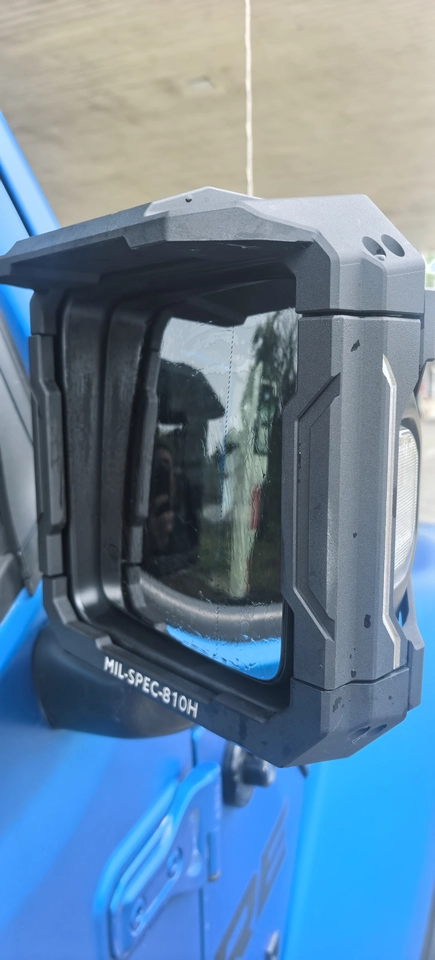
Once the lighting objective is clear, the LC250 A-pillar light mount becomes the next part of the decision. Evaluate the physical bracket against critical mechanical factors: driver sightline clearance, pod envelope, angular adjustability, structural rigidity, and installation method.
On washboard roads, even small angular movement at the bracket can produce a noticeable sweep of the beam farther down the trail.
Bracket stiffness matters because angular movement at the mount becomes beam movement down the trail.
Equally critical is geometry. A well-positioned mount should minimize intrusion into the driver's normal field of view while maintaining clearance from the hood, wipers, mirrors, and other moving bodywork.

06 / “No Drill” Does Not Always Mean “No Modification”
When comparing Land Cruiser 250 ditch light brackets, “no-drill” should not be treated as the final installation question. Aftermarket marketing frequently uses the phrase to imply a completely non-invasive fitment, yet accessories that mount without drilling can still require trimming vehicle trim, rubber seals, or cowl plastics.
When evaluating mounting options, ask two distinct questions:
1. Does it require drilling into metal?
2. Does it require cutting or trimming factory plastics?
Certain mounting designs on the market utilize factory bonnet hinges but require cutting or notching a section of the plastic cowl panel to route the bracket arm. Neither approach is automatically wrong; some manufacturers intentionally design brackets around trimmed panels to achieve specific structural profiles. The important distinction is whether the owner understands exactly what factory material must be modified before installation begins.
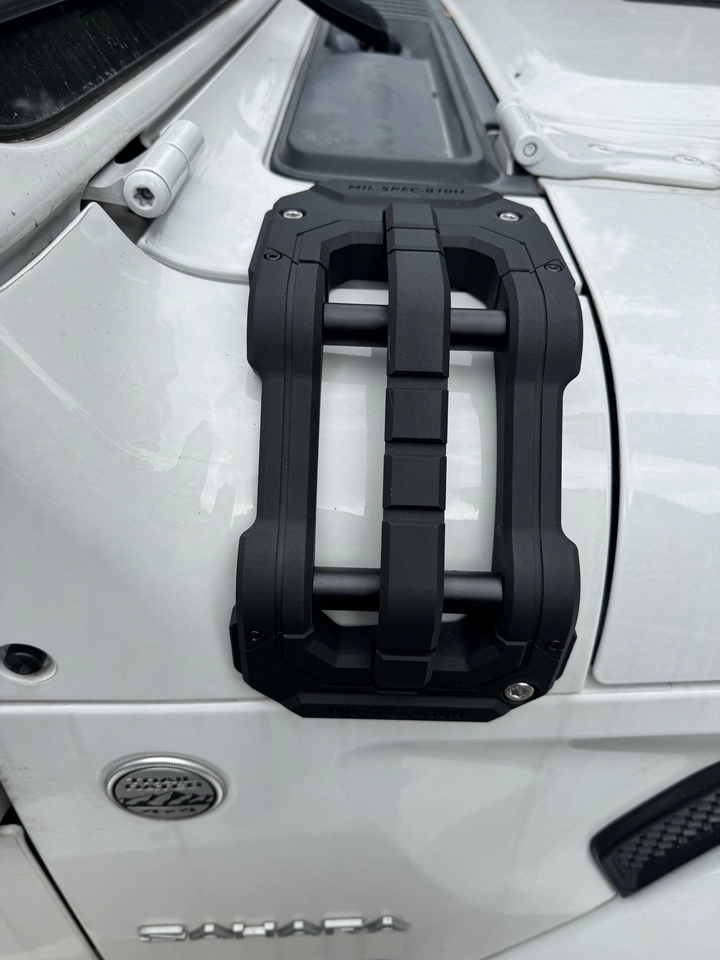
For LC250 owners who want to preserve the factory vehicle, installation method becomes part of the product decision—not an afterthought. A true no-drill, no-cut solution keeps the modification reversible without altering the factory cowl trim. The IRURI LC250 A-Pillar Light Mount is designed around factory mounting locations with no drilling and no cutting required.

07 / Wiring Is Part of the Installation
Mounting the hardware is only half the installation; routing the electrical harness securely into the engine bay is the other. Ditch lights require dedicated wiring from the pod connector, past moving body panels, and toward auxiliary switch controllers or power distribution points.
A clean mounting position can still become a messy installation if wiring is treated as an afterthought.
Evaluate the cable path before securing hardware. The cable path must provide enough clearance for the chosen connector and harness without being pinched by the hood, fender edge, or moving bodywork during daily operation. Long-term rubbing and vibration can abrade painted surfaces, fatigue harness insulation, and reduce electrical reliability over time.
08 / What About Cameras?
The primary job of an A-pillar mount is lighting. Some vehicle-specific systems, including the IRURI design, also provide a secondary interface for compatible action-camera hardware. That extra utility can be useful, but it should remain secondary to lamp positioning, clearance, and aiming.
09 / A-Pillar vs Grille vs Fog Lights: Which Setup Fits Your LC250?
If you are comparing Land Cruiser 250 ditch lights, grille-mounted driving lights, and low-mounted fog lights, start with the visual problem rather than the hardware. Each lighting position solves a different part of the trail, and an A-pillar setup only makes sense when its beam placement matches the way the vehicle is actually used.
| Driving Need | A-Pillar / Ditch Lights | Better Starting Point |
|---|---|---|
| Trail edge / switchbacks / peripheral terrain | Strong Fit | A-pillar ditch lights are well suited to outward-angled peripheral illumination beyond the factory headlight beam. |
| Independently adjustable side illumination | Strong Fit | Independent pod aiming helps cover trail edges, ditch lines, and technical side terrain. |
| Long-range forward lighting | Depends on Overall Lighting Architecture | Grille or bumper driving lights usually provide a more direct forward-lighting position, though A-pillar or roofline spot patterns can supplement broader setups. |
| Fog / dust / rain / snow (Close-range) | Depends on Beam + Placement | For near-field adverse-weather lighting, start with a low-mounted fog/dust zone using a controlled wide beam. A-pillar lighting may still supplement other zones depending on beam pattern and aiming. |
| Windshield / mirror sightline sensitivity | Check Geometry | Use a low-profile LC250 A-pillar mount and verify pod size, hood, wiper, and mirror clearance. |
10 / The IRURI Approach
At IRURI, we approach the Toyota Land Cruiser 250 with vehicle-specific structural geometry rather than universal stamped metal brackets:
• Vehicle-Specific Profile: Tailored around the 2024–2026 Toyota Land Cruiser 250 / Prado cowl line, maintaining an exterior envelope of 178 × 129 × 110 mm that positions the pod low to preserve forward visibility.
• Structured Mounting Geometry: The three-dimensional bracket architecture (weighing 1.6 kg per pair) provides a stable mounting interface for compatible auxiliary light pods.
• Non-Invasive Installation: Fastens directly to factory mounting locations. No drilling into body sheet metal, and zero cutting or trimming of factory plastic cowl trim.
• Dual-Platform Deck: Features a dedicated primary deck for standard auxiliary LED pods, alongside an integrated secondary interface for compatible action-camera hardware.


11 / Frequently Asked Questions
What are ditch lights used for on a Land Cruiser 250?
Ditch lights are auxiliary LED pods mounted near the vehicle's A-pillar or hood cowl, angled outward to illuminate the sides of the trail. On a Land Cruiser 250, they supplement factory headlights by illuminating road edges, trail drop-offs, switchbacks, and potential wildlife outside the forward beam pattern.
Ditch lights are auxiliary LED pods mounted near the vehicle's A-pillar or hood cowl, angled outward to illuminate the sides of the trail. On a Land Cruiser 250, they supplement factory headlights by illuminating road edges, trail drop-offs, switchbacks, and potential wildlife outside the forward beam pattern.
What beam pattern is best for LC250 A-pillar lights?
Wide Cornering is generally the most effective pattern for A-pillar ditch lights because its wide horizontal spread naturally fills the peripheral visual field beside the vehicle. Driving/combo or spot patterns can also be used, provided they are aimed carefully to prevent severe hood glare and driver distraction.
Wide Cornering is generally the most effective pattern for A-pillar ditch lights because its wide horizontal spread naturally fills the peripheral visual field beside the vehicle. Driving/combo or spot patterns can also be used, provided they are aimed carefully to prevent severe hood glare and driver distraction.
Can A-pillar ditch lights cause hood glare?
Yes. Because the Land Cruiser 250 features a broad, relatively flat hood, light pods with wide downward spill can reflect off the painted hood surface straight back into the driver's eyes. Choosing pods with controlled optical cutoffs and angling them slightly outward helps mitigate hood glare.
Yes. Because the Land Cruiser 250 features a broad, relatively flat hood, light pods with wide downward spill can reflect off the painted hood surface straight back into the driver's eyes. Choosing pods with controlled optical cutoffs and angling them slightly outward helps mitigate hood glare.
Do LC250 ditch light brackets require drilling or cutting?
That depends on the bracket design. While many aftermarket mounts claim "no-drill" installation by bolting to the hood hinge, some require trimming or cutting the plastic cowl trim. Vehicle-specific systems like the IRURI mount are engineered for true non-invasive installation, requiring neither drilling into metal nor trimming factory plastics.
That depends on the bracket design. While many aftermarket mounts claim "no-drill" installation by bolting to the hood hinge, some require trimming or cutting the plastic cowl trim. Vehicle-specific systems like the IRURI mount are engineered for true non-invasive installation, requiring neither drilling into metal nor trimming factory plastics.
Are auxiliary ditch lights legal for on-road use?
Road-use rules for auxiliary lighting vary by jurisdiction. Check local regulations regarding mounting height, beam pattern, covers, and when auxiliary lights may be used on public roads. In many areas, high-output off-road lights must remain covered or switched off while driving on public highways.
Road-use rules for auxiliary lighting vary by jurisdiction. Check local regulations regarding mounting height, beam pattern, covers, and when auxiliary lights may be used on public roads. In many areas, high-output off-road lights must remain covered or switched off while driving on public highways.
Purpose Before Power.
A capable Land Cruiser does not need more lights simply for the sake of brightness. It needs illumination placed where human vision actually demands it on the trail.

EXPLORE THE IRURI LC250 A-PILLAR LIGHT MOUNT
Engineered for peripheral trail visibility, zero drilling, and zero plastic trimming.
EXPLORE LC250 MOUNT →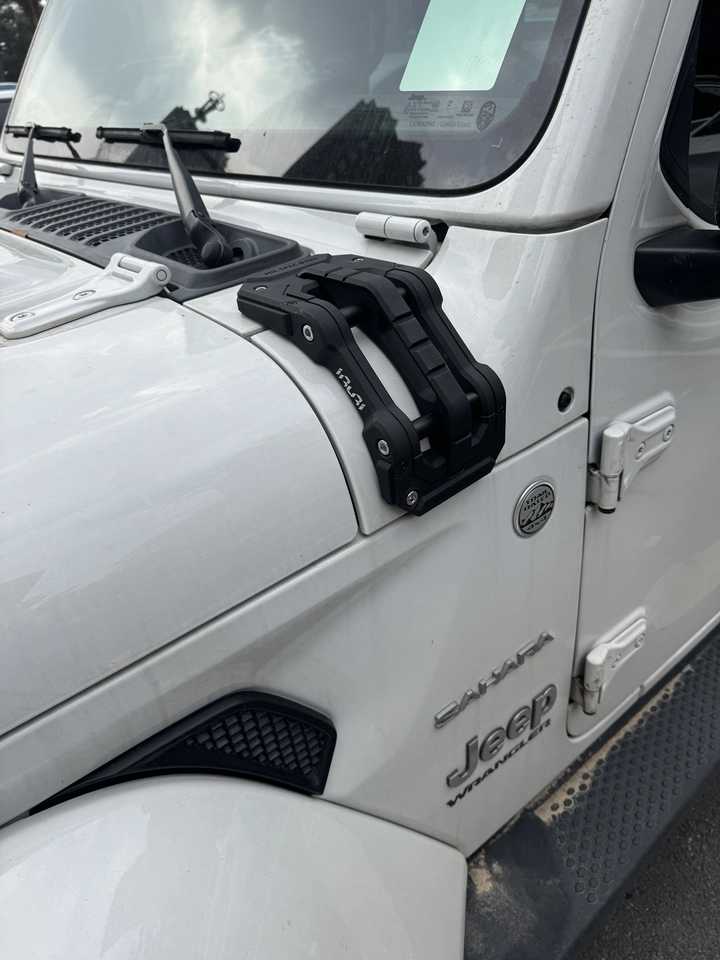
0 comments