

THE IRURI JOURNAL
ENGINEERING & DESIGN
Why Most Bronco Ditch Lights Look Like an Afterthought — It's Usually the Wiring
Hidden Wiring Is More Than Just Looks.
IRURI Journal is a collection of observations about how people interact with their vehicles. Not every observation becomes a product. But every product begins with an observation.
One Bronco owner described the experience like this:
"I spent $800 on lights and the only thing people noticed was my zip ties."
(shared on Reddit)
When adding ditch lights, people spend weeks comparing raw lumen output, beam patterns, and color temperatures. They invest hundreds of dollars into premium optics. Yet when the install is done, something feels cheap.
The light isn't what people notice. The wiring is.

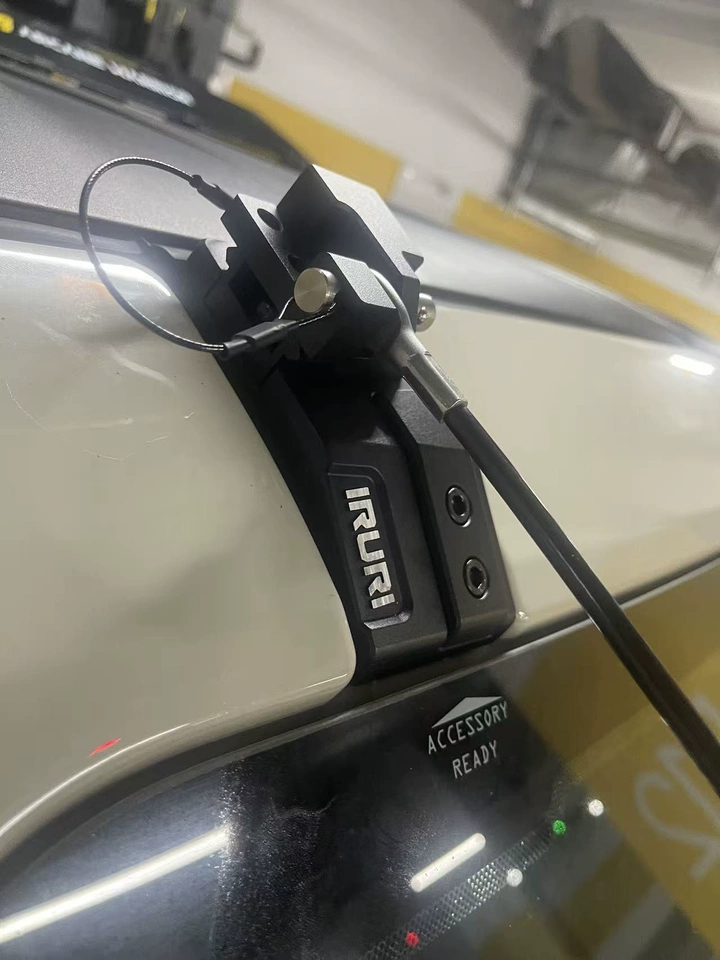
Primary touchpoint profile — Clean cowl alignment without visible wire clutter.
Chapter 1: The Zip-Tie Compromise
Step into any trail staging area. High-end LED pods sit on solid steel plates, but hanging directly beneath them is a pair of thick, exposed black wires.
To manage slack, owners snake cables over cowl plastics, drill rubber seals, wrap zip-ties around exposed bolts, or stick tape down the windshield channel.
At 70 mph, loose harnesses flutter against paint. On the trail, exposed loops snag low branches and trap wet mud. Most brackets treat wire routing as someone else's problem.
Chapter 2: The Best Accessory Looks Expected
In automotive design, true elegance is quiet.
When Ford engineered the 6th generation Bronco, they gave it clean body lines and modular accessory mounts. Functional lighting shouldn't disrupt that flow.
The best accessory doesn't look added. It looks expected.


Baseline alignment — Zero drag against factory paneling.
Design Notebook
The Log of Rejections

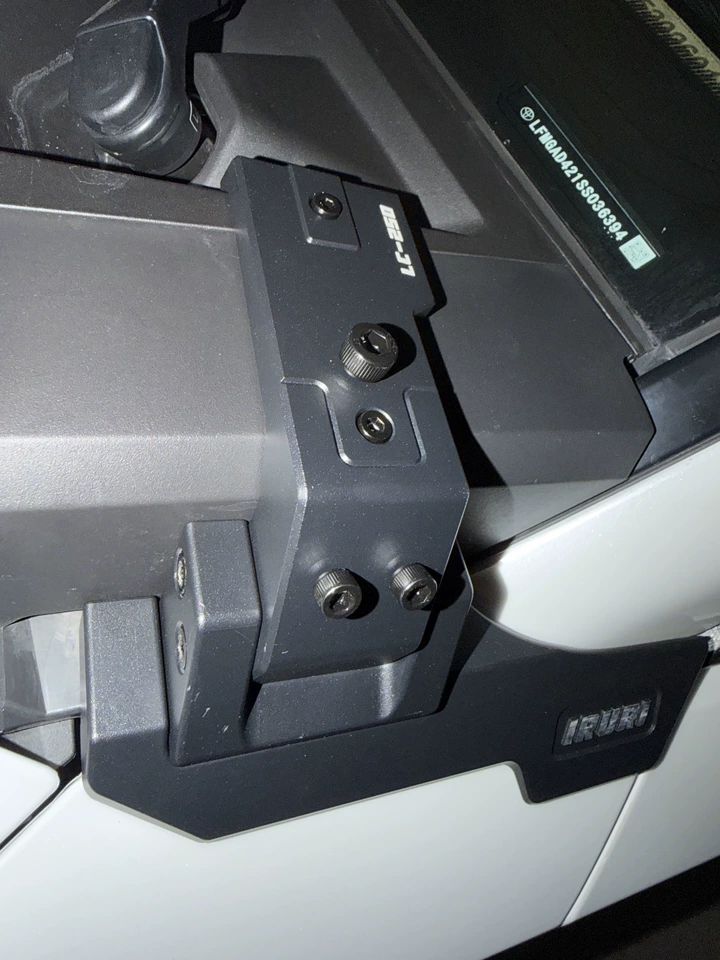
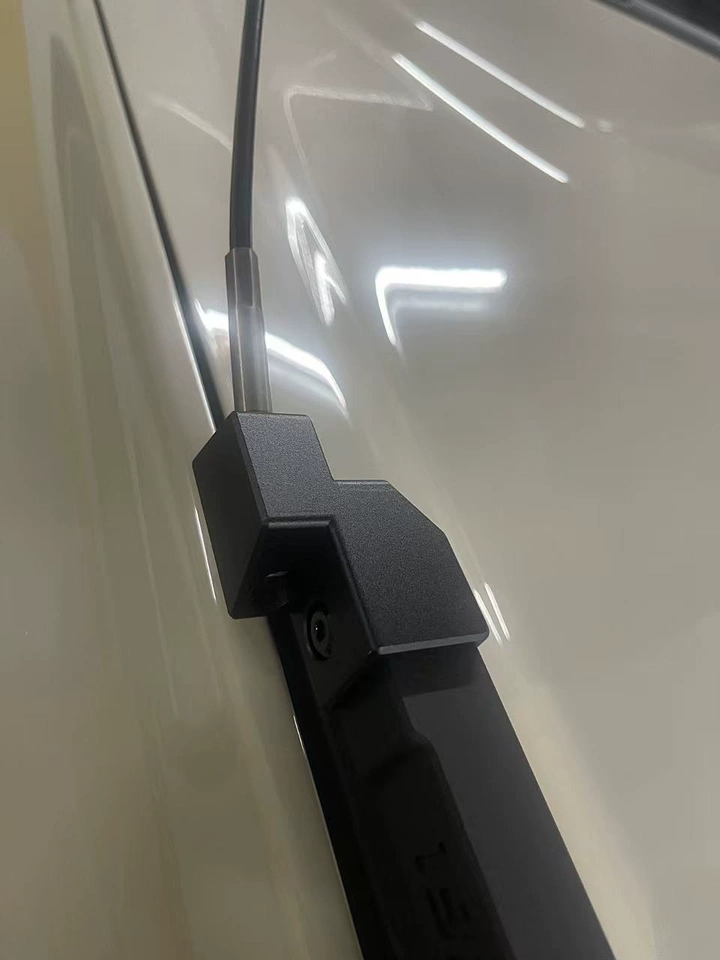
Internal spine channel — Dedicated housing relieving harness pinch points.
We didn't start by drawing the bracket. We started by drawing the wire.
• Prototype 01: Solid steel base. Held the 3-inch pod perfectly. Harness pinched against cowl edge.
Status: Rejected.
• Prototype 04: 45Hz vibration test. 13 minutes. Harness rubbed through housing finish into bare aluminum.
Status: Rejected.
• Prototype 09: Passed vibration. Passed weather sealing. Average install time: 46 minutes. Target: 25 minutes.
Status: Rejected.
• Prototype 12: Carved a dedicated internal channel directly into the bracket's spine. Wire disappeared into cowl recess. Install time: 18 minutes. Zero pinch points.
Status: Approved.
Status: Rejected.
• Prototype 04: 45Hz vibration test. 13 minutes. Harness rubbed through housing finish into bare aluminum.
Status: Rejected.
• Prototype 09: Passed vibration. Passed weather sealing. Average install time: 46 minutes. Target: 25 minutes.
Status: Rejected.
• Prototype 12: Carved a dedicated internal channel directly into the bracket's spine. Wire disappeared into cowl recess. Install time: 18 minutes. Zero pinch points.
Status: Approved.
The wire came first.
Chapter 3: Physical Protection
Concealing a harness isn't about looks. Exposed wiring is an electrical vulnerability.
Exposed cable.
↓
UV exposure.
↓
Insulation hardens.
↓
Micro cracks.
↓
Moisture enters.
↓
Failure.
↓
UV exposure.
↓
Insulation hardens.
↓
Micro cracks.
↓
Moisture enters.
↓
Failure.
Dust, pressure washing, road salt, and branches speed up this decay. Internal wire routing is physical insulation for your electrical system.

Chapter 4: The Machine Shop Answer
The sequence changed.
Wire.
↓
Channel.
↓
Relief.
↓
Bracket.
↓
Vehicle.
↓
Channel.
↓
Relief.
↓
Bracket.
↓
Vehicle.
The machine shop returned with a hybrid design: structural steel where it bolts to the frame, and a precision CNC aluminum channel that shields cables straight into the engine bay without pinching.

Hybrid architecture — Heavy steel base & CNC wire housing.

Precision badge detail — Machine-milled alloy emblem.
Chapter 5: What "Factory Look" Really Means
Factory look isn't a style. It's the absence of distraction.

Chapter 6: Invisible Engineering
• Bending Radius: Internal channels maintain a smooth curve to prevent wire pinching.
• Drainage: Micro-channels allow water to run through without pooling.
• Vibration Relief: Base isolators prevent high-frequency chatter from reaching the windshield frame.
If you see the engineering, it probably isn't finished.

Secondary integration — Integrated camera mount points built directly into the bracket base.

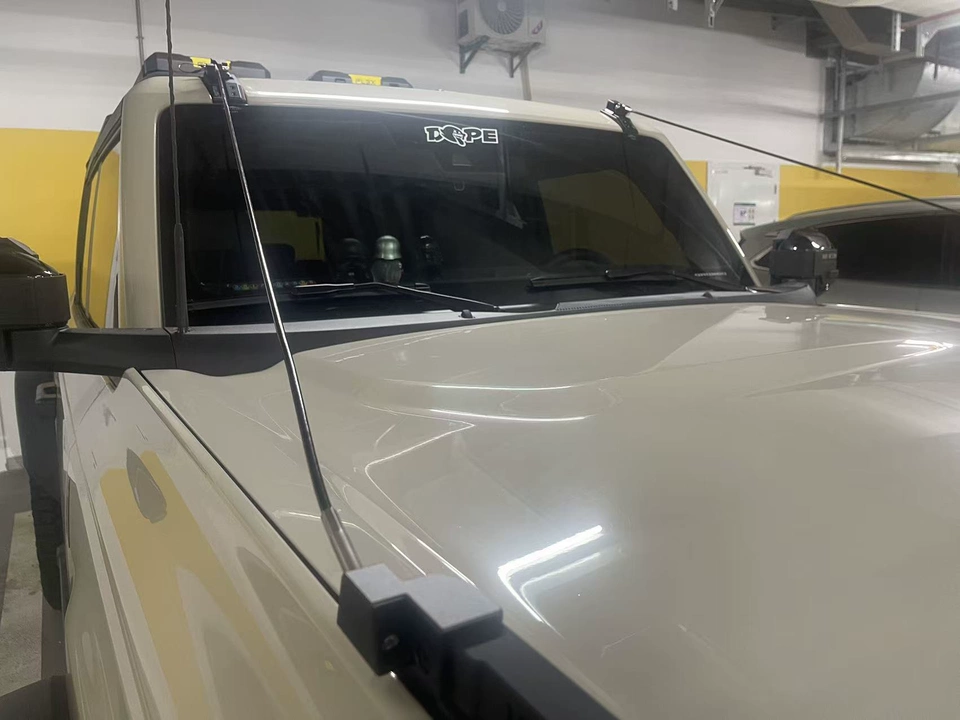
Multi-pod installation — Zero wire loops across secondary lights.

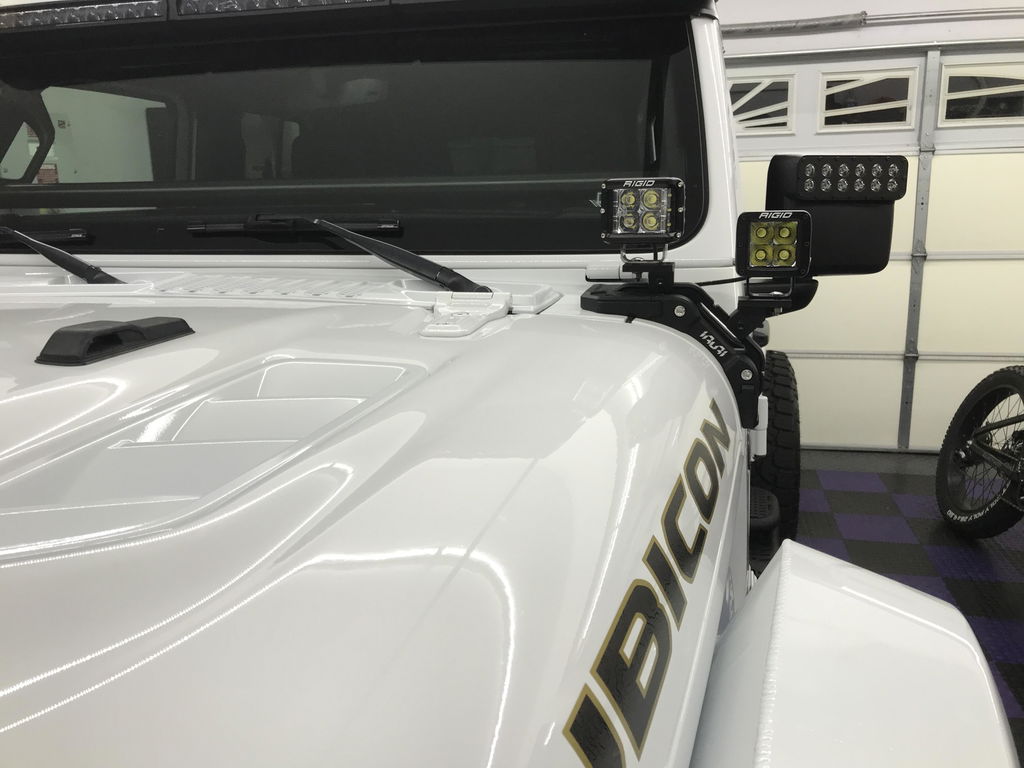
Complete front quarter — Complete absence of wire clutter.
The best ditch light install isn't the brightest. It's the one nobody notices.
Nobody should remember how the bracket got there.

Operational stance — Clean body lines preserved across long-term ownership.
Frequently Asked Questions
How do you hide ditch light wiring on a Bronco?
Use A-pillar brackets engineered with internal cable channels. These route cables directly beneath the housing into the cowl recess, eliminating zip-ties and tape.
Use A-pillar brackets engineered with internal cable channels. These route cables directly beneath the housing into the cowl recess, eliminating zip-ties and tape.
Should ditch light wires go under the cowl?
Yes. Routing wiring under the cowl protects it from UV exposure, branch snags, and wind flutter while maintaining a clean appearance.
Yes. Routing wiring under the cowl protects it from UV exposure, branch snags, and wind flutter while maintaining a clean appearance.
Can exposed wiring damage off-road lights?
Yes. Direct sun degrades insulation over time, causing cracking and shorts. Exposed loops can also snag on trail debris and snap.
Yes. Direct sun degrades insulation over time, causing cracking and shorts. Exposed loops can also snag on trail debris and snap.
How do you make ditch lights look factory?
Choose low-profile brackets matching body lines, route harnesses through hidden internal channels, and use matte finishes that complement OEM trim.
Choose low-profile brackets matching body lines, route harnesses through hidden internal channels, and use matte finishes that complement OEM trim.
Where should Bronco ditch light wiring be routed?
From the light base, down through the internal bracket channel, past the cowl seal, and into the engine bay toward the auxiliary Upfitter switch leads.
From the light base, down through the internal bracket channel, past the cowl seal, and into the engine bay toward the auxiliary Upfitter switch leads.
Do hidden wires improve reliability?
Yes. Internal routing prevents wind vibration, stops paint friction, and shields wire insulation from weather and UV breakdown.
Yes. Internal routing prevents wind vibration, stops paint friction, and shields wire insulation from weather and UV breakdown.
Are Bronco ditch lights waterproof?
Quality light pods are IP68/IP69K rated, but exposed wire connections remain vulnerable if hanging in water or mud. Internal channels keep connections elevated and dry.
Quality light pods are IP68/IP69K rated, but exposed wire connections remain vulnerable if hanging in water or mud. Internal channels keep connections elevated and dry.
What's the cleanest way to install ditch lights?
A zero-drill installation using factory accessory mounts paired with dual-material brackets featuring internal wire routing.
A zero-drill installation using factory accessory mounts paired with dual-material brackets featuring internal wire routing.
| Engineering Anchor | System Specification Details |
|---|---|
| Vehicle Platform | 2021+ Ford Bronco (2-Door & 4-Door Platforms) |
| Material Architecture | Hybrid Steel Mounting Base & CNC Aluminum Wire Housing |
| Surface Protocol | Matte Black Powder-Coated Weather-Resistant Finish |
| Light Spec Alignment | Standard 3-Inch LED Pods, Cube Lights & Action Cameras |
| Installation Protocol | Direct Factory Bolt-On (Zero Drilling or Permanent Modification) |
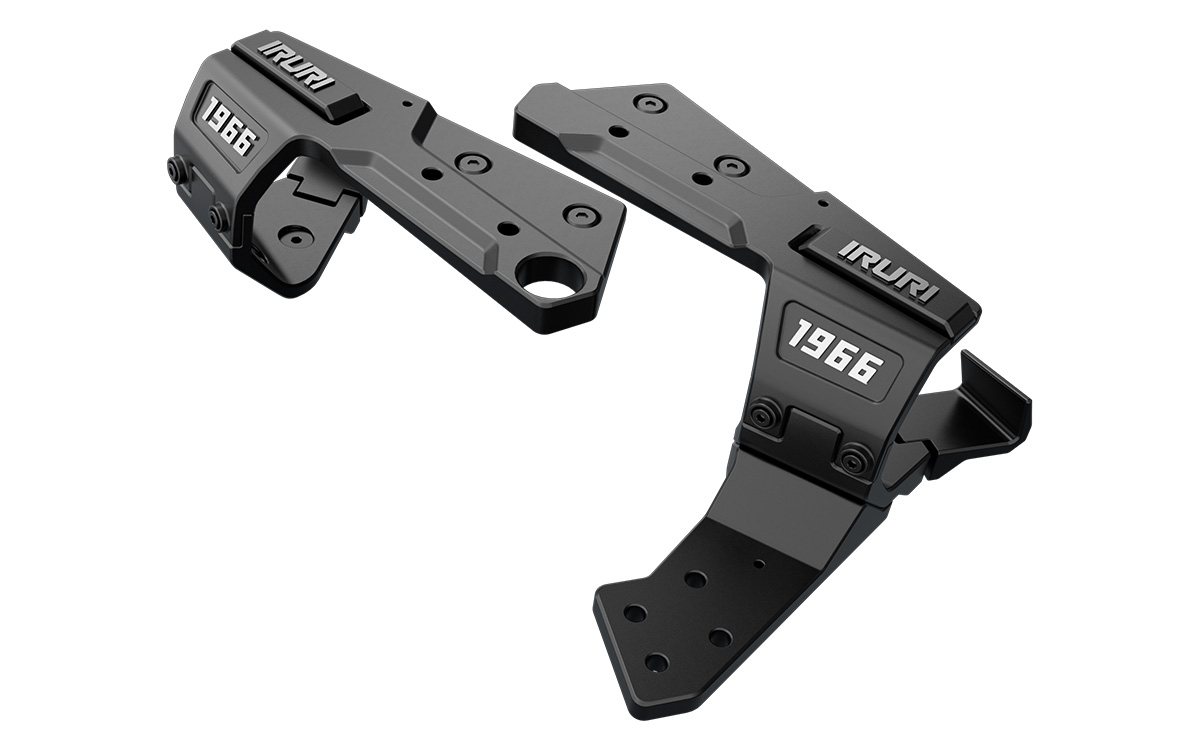
If you see the engineering, it probably isn't finished.
Explore the hidden-wiring A-Pillar Light Bracket System engineered for Ford Bronco.
Explore the Precision Bronco A-Pillar Light Brackets →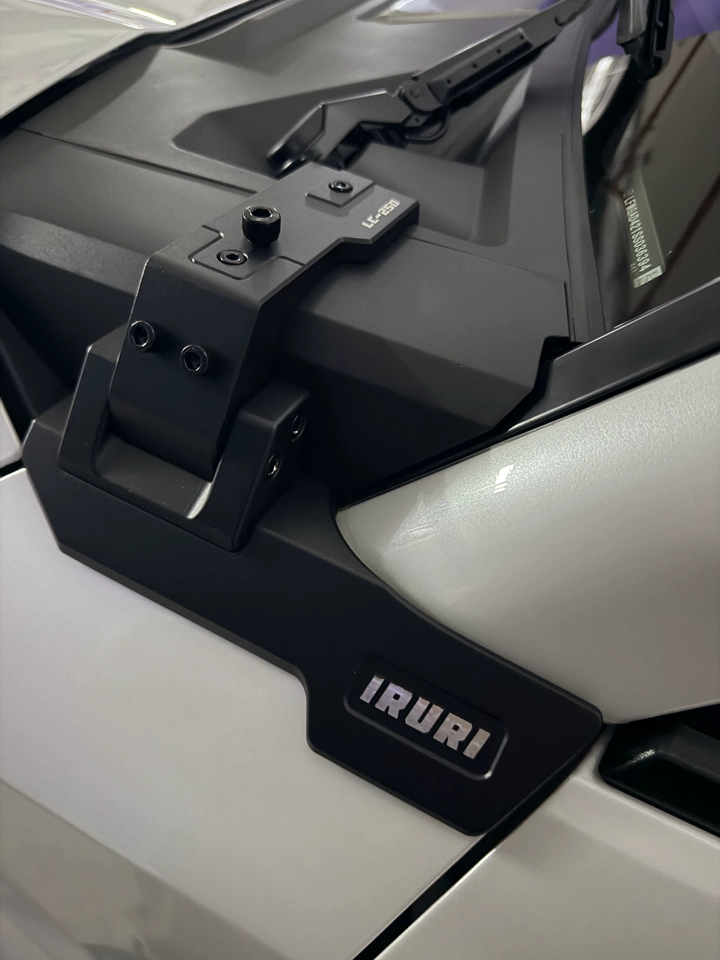
0 comments